
Sedona, Arizona is only a day’s drive away from me, but I’ve spent so much time exploring Colorado’s mountain ranges that I had yet to make the trip there. The natural beauty of our world never ceases to amaze me, and Sedona was no exception! I spent three days there but could easily have spent several more.
Sedona offers plenty of adventure for the outdoor enthusiast, from hiking, biking and swimming to ATV rentals, hot air balloon rides and wine tasting. It is also a very touristy area, which means it can be fairly expensive. However, a variety of options exist whether you are looking for a luxury getaway or a more budget-friendly trip.
This post will cover the following hikes near Sedona: The Subway Cave, Soldier Pass and Brins Mesa Loop with Soldier Pass Cave, the Birthing Cave, Devil’s Bridge and Cathedral Rock.
- When to Visit
- Budget-Friendly Options
- The Subway Cave
- Soldier Pass and Brins Mesa Loop, with Soldier Pass Cave
- The Birthing Cave
- Devil’s Bridge
- Cathedral Rock
When to Visit
Sedona is best to visit in the spring and fall for more mild weather, but do be aware that these can be some of the busier months when tourists flock to the area. Winter can also be a beautiful time to visit, albeit a bit colder, as there are fewer people and the contrast of the white snow that occasionally blankets the red rocks can be absolutely gorgeous. The middle of summer is less busy but can be very hot and can make hiking and camping almost unbearable.
Budget-Friendly Options


My campsite is shown above with the view of the hot air balloons in the mornings.
Many camping options exist in the area if you are looking to keep costs low, but campsites can fill quickly so plan and reserve ahead. If you are making a last-minute trip, there are dispersed camping sites available that are first come, first served.
I personally stayed in the Coconino National Forest Dispersed Camping area. There were five designated camping areas here, along Forest Road 525. The first two that you come across when accessing this road off of Hwy 89A were heavily occupied with trailers and RVs and had minimal shade. The next three improved in terms of increased shade and privacy and fewer people. These sites did not have running water, electricity, structures to provide shade nor outhouse/bathroom facilities. Plan accordingly and bring plenty of water (at least one gallon per person per day) as well as a portable toilet or plan to pack out/bury your waste. Additionally, the local Cave Springs Campground has showers for public use for a minimal cost.
Finally, there are plenty of grocery stores in the area to pick up items for on-the-go adventures as well as something to cook at your campsite at the end of the day.
The Subway Cave

- Distance: 5.6 miles round-trip
- Elevation gain: ~1,000 feet
- Difficulty: moderate
- Trailhead: Boynton Canyon
- Cost: You will need to purchase a Red Rocks Pass or America the Beautiful Pass to display in your car
- Note: this is not an official trail and therefore will not have a sign to mark the turn-off. Read below to learn more.
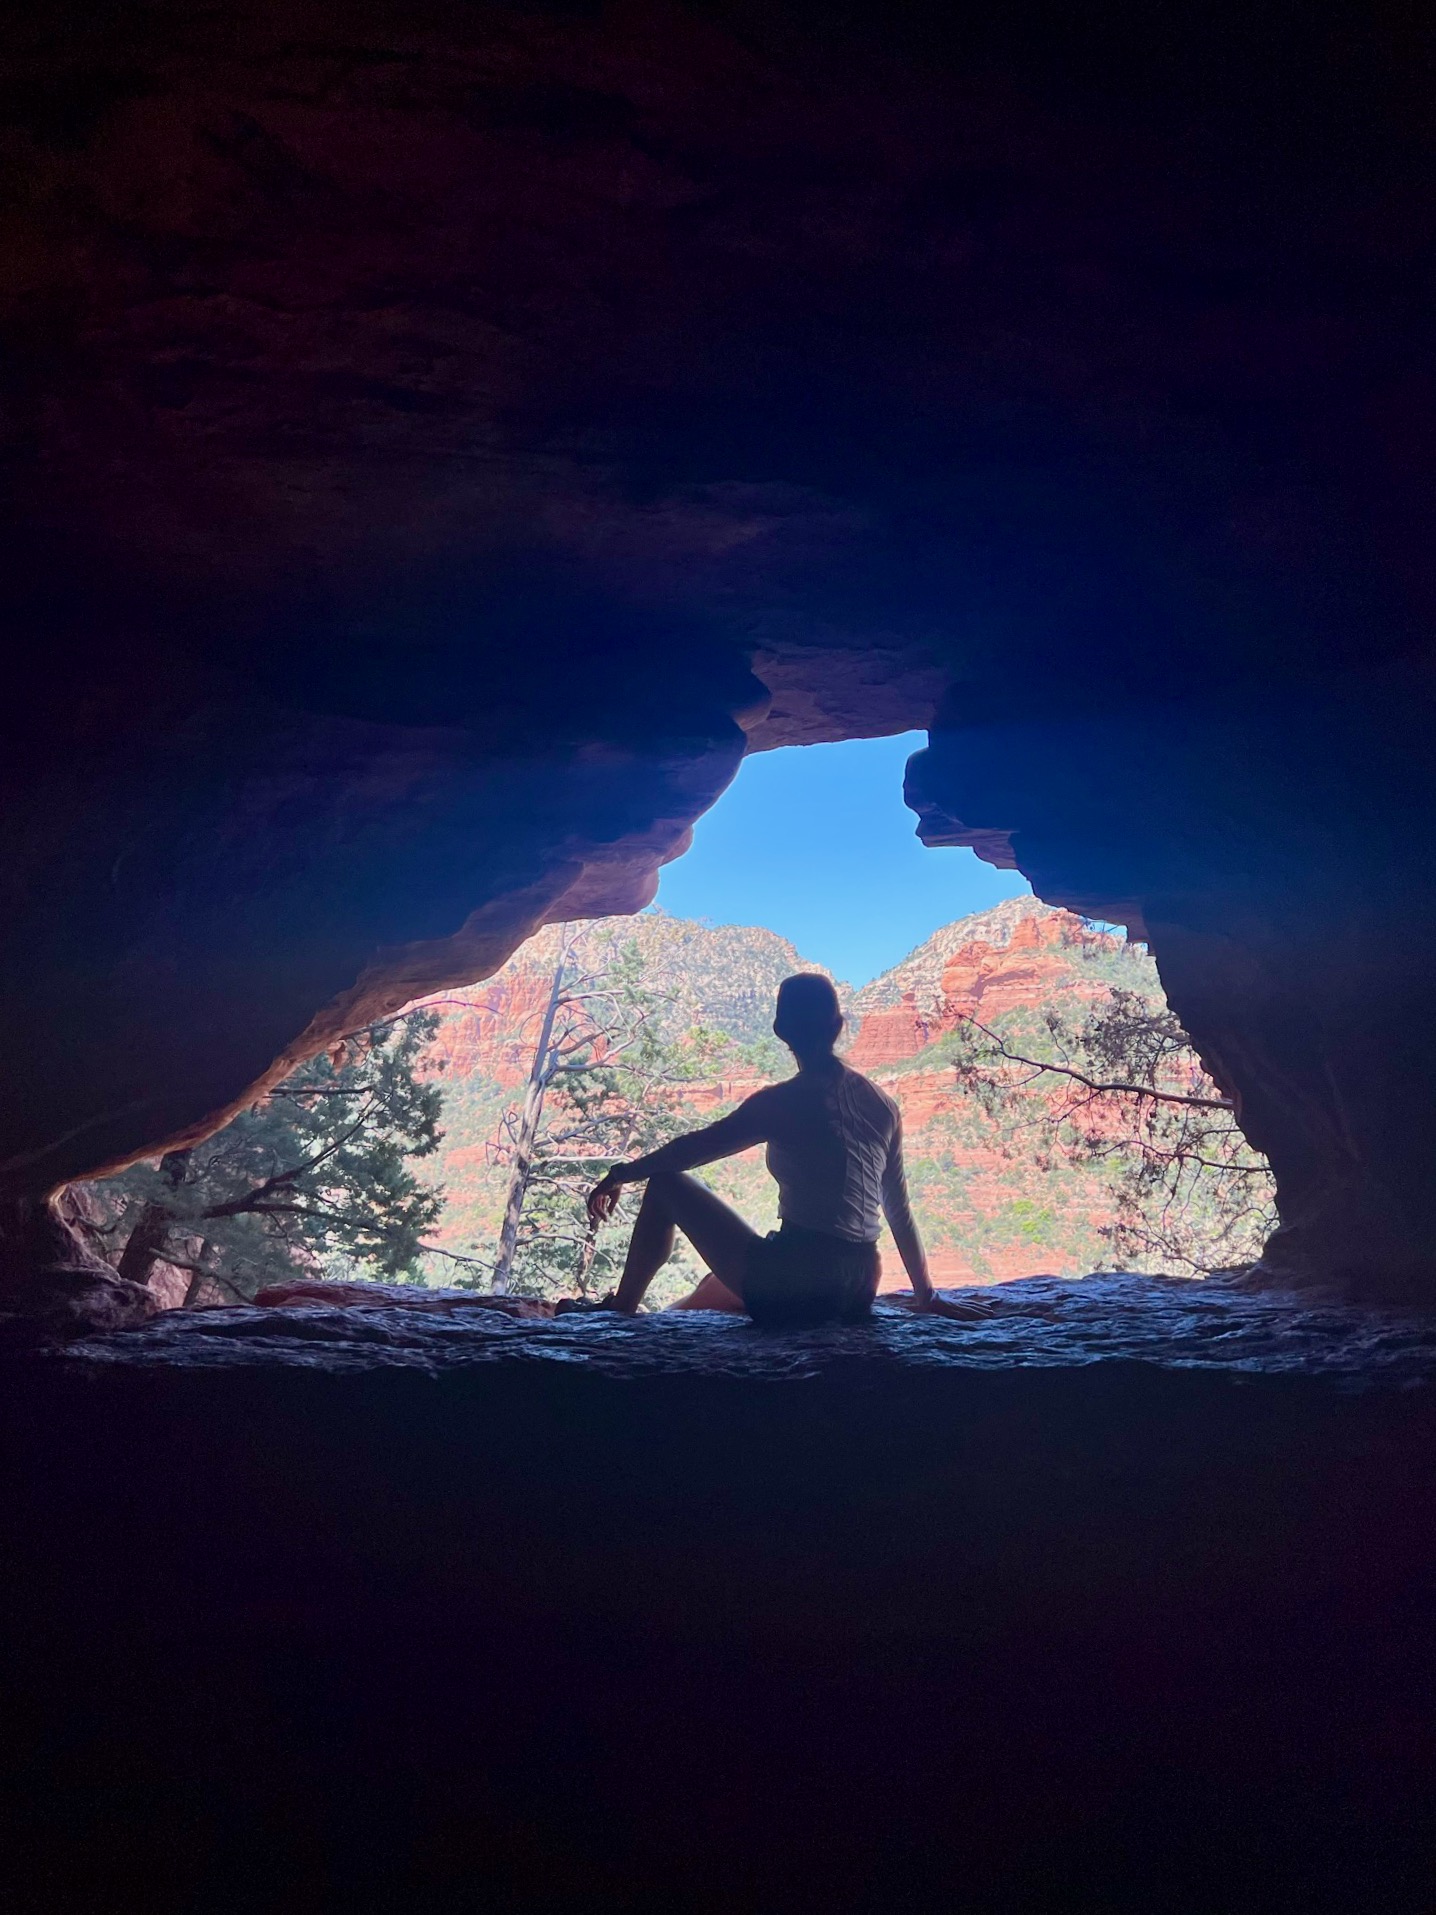
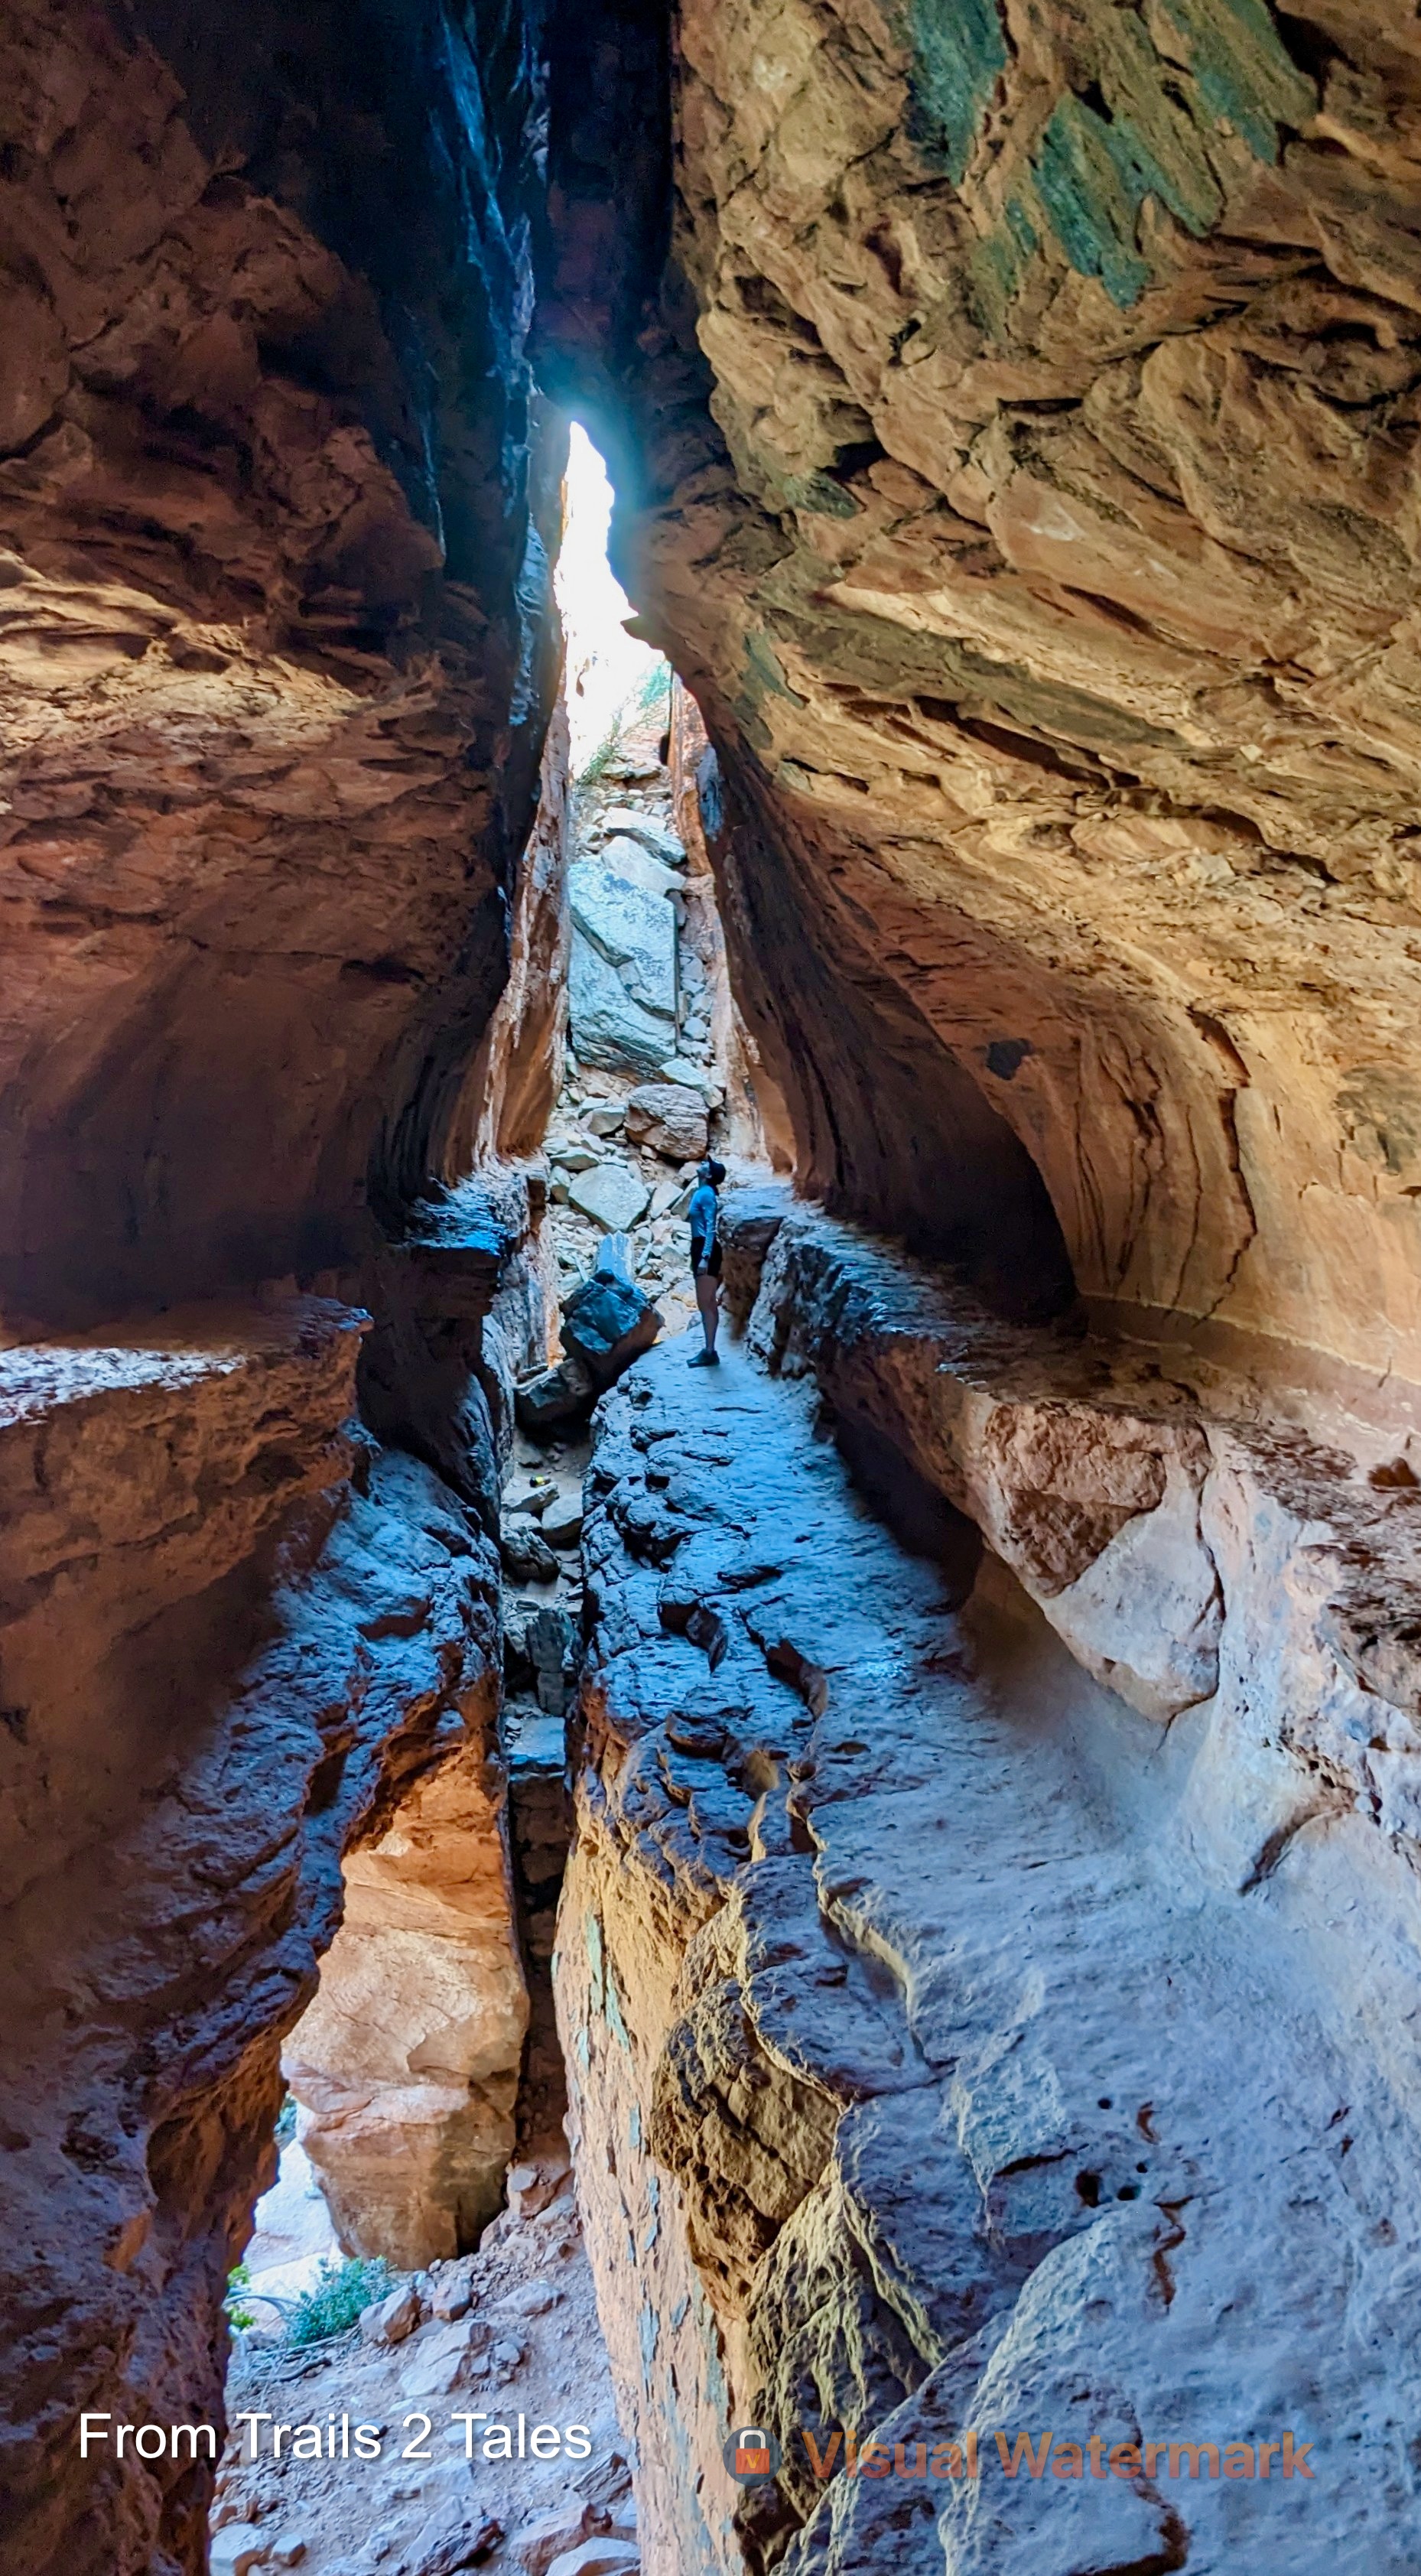
Subway Cave is for the most part an easy hike, but gaining entry into the cave requires some rock scrambling which puts this hike into the ‘moderate’ difficulty category. It is quite a unique cave and offers great photo opportunities.
To reach this cave, start at the Boynton Canyon Trailhead and follow the Boynton Canyon Trail. The trailhead can get very busy. Overflow parking is allowed along some of the streets leading to the trailhead, but not all of them. Pay attention to road signs to know where to park.
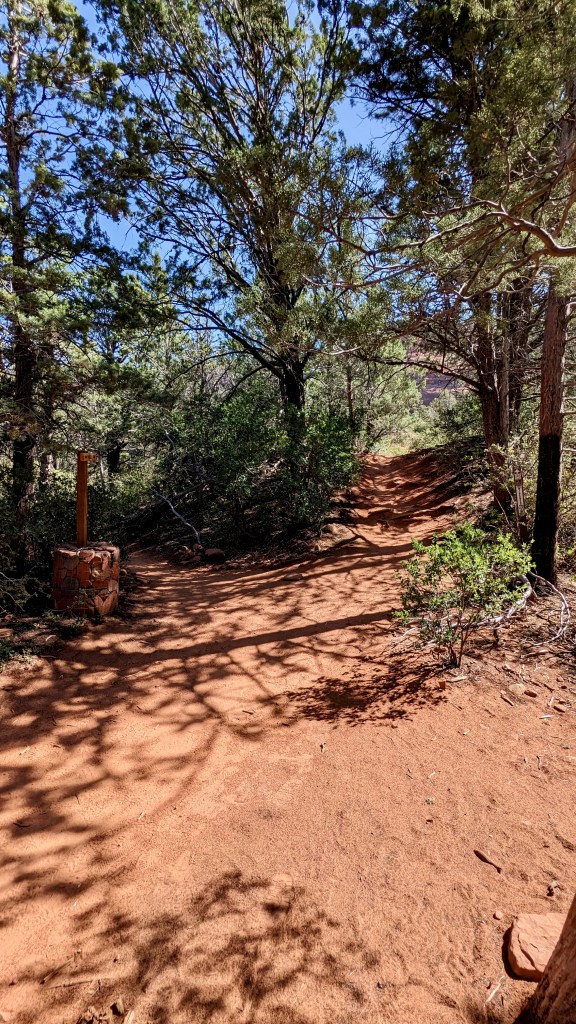
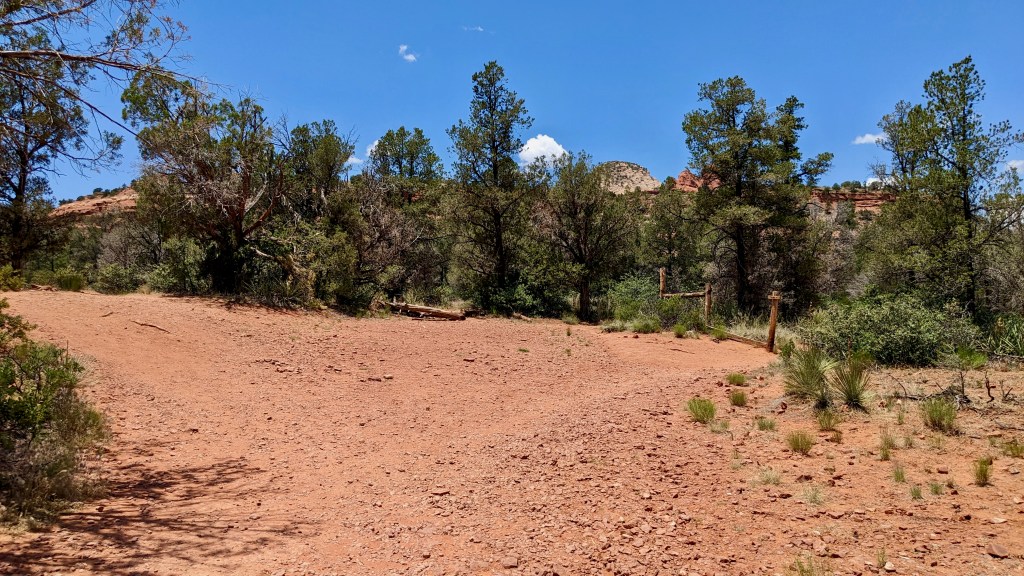
After following the Boynton Canyon Trail for approximately two miles, you will reach the turn-off for the Subway Cave. Note: this is not an official trail and therefore will not have a sign to mark the turn-off. It is important to have basic navigational skills to reach this cave. Bring a map and some form of GPS. At about two miles, keep your eye out for the Alligator Juniper tree photographed below. It is a very large tree with bark that looks like alligator skin and will be the only one in this particular area. At this point, you will want to turn right. It is possible there will be branches across the trail here to indicate this is not the official trail (to Boynton Canyon, that is). You may also see a couple small cairns in this area.
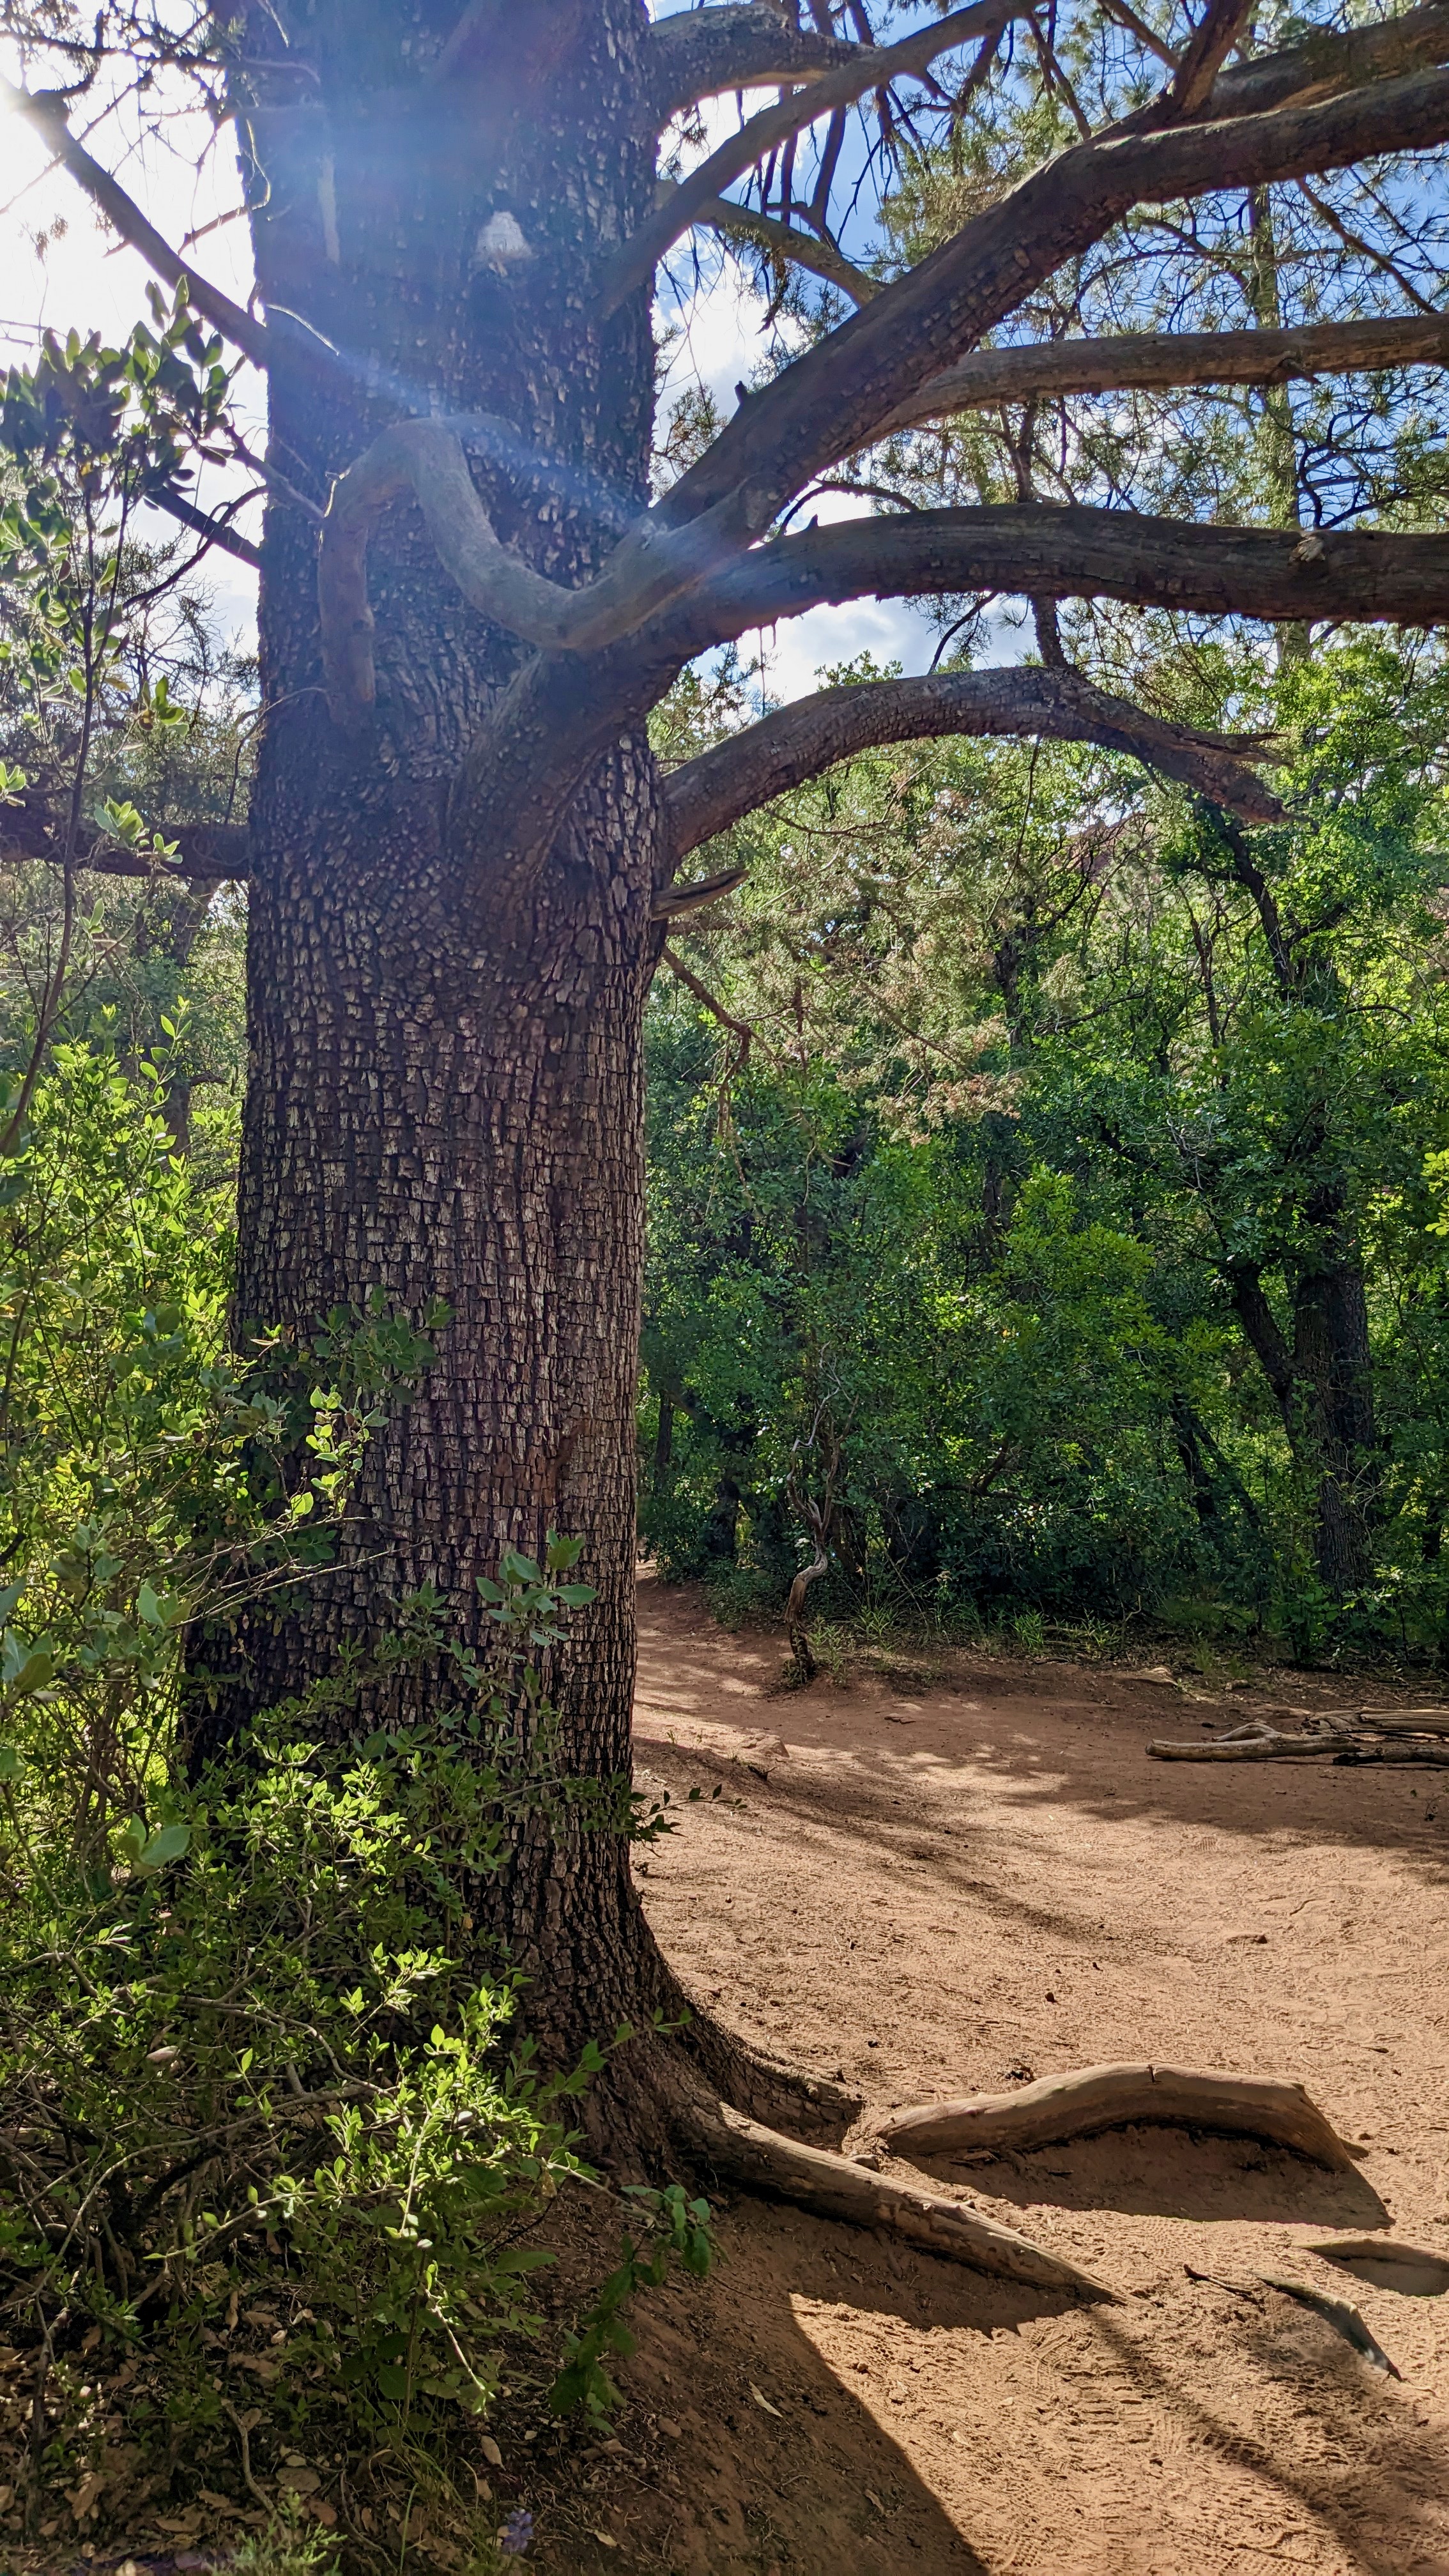

The Alligator Juniper tree on the left, and the trail to the right.
Continue to follow this trail as it goes north. Within about 0.4 mile, you will reach the Subway Cave, which looks like the photo to the left from below. You can climb up into the cave by either choosing the path to the right, which goes up a steep smooth slab of rock, or by going to the left, which is also steep but less slippery. However, going to the left will require coming back around the ledge shown in the middle of this photo, as well as the photo below.
Do plan to allow a little extra time here, as this is a popular trail and there could be a line for photos. Also, be sure to see the ancient ruins that consist of a couple small caves to the left of the Subway Cave.
Soldier Pass and Brins Mesa Loop, with Soldier Pass Cave

- Distance: 6 miles round-trip
- Elevation gain: ~1,300 feet
- Difficulty: moderate
- Trailhead: you have two options: Brins Mesa Trailhead (aka the Jim Thompson Trailhead) or Soldier Pass Trailhead, which is more crowded and sometimes requires taking a shuttle to reach
- Cost: You will need to purchase a Red Rocks Pass or America the Beautiful Pass to display in your car
- Note: the side trail to the Soldier Pass Cave is not an official trail and therefore does not have a sign to mark the turn-off. Read below to learn more.
The most popular aspect of this hike is the Soldier Pass Cave, and the quickest route there is via the Soldier Pass Trailhead. As such, this section of the trail and the trailhead itself can be quite congested with other hikers. For a quieter hike and easier parking experience, consider parking at Brins Mesa Trailhead and doing the entire loop, which has amazing views all-around. This route links the Cibola Pass Trail, Jordan Trail, Solider Pass Trail and Brins Mesa Trail.
If going in a counter-clockwise direction, shortly after the Jordan Trail ends you will pass Devil’s Kitchen, a massive sinkhole, and the Seven Sacred Pools. Once passing the Seven Sacred Pools, the spur to the Solider Pass Cave is another 0.6 mile. Again, this cut-off is not marked, but can be found by looking at the photo below.
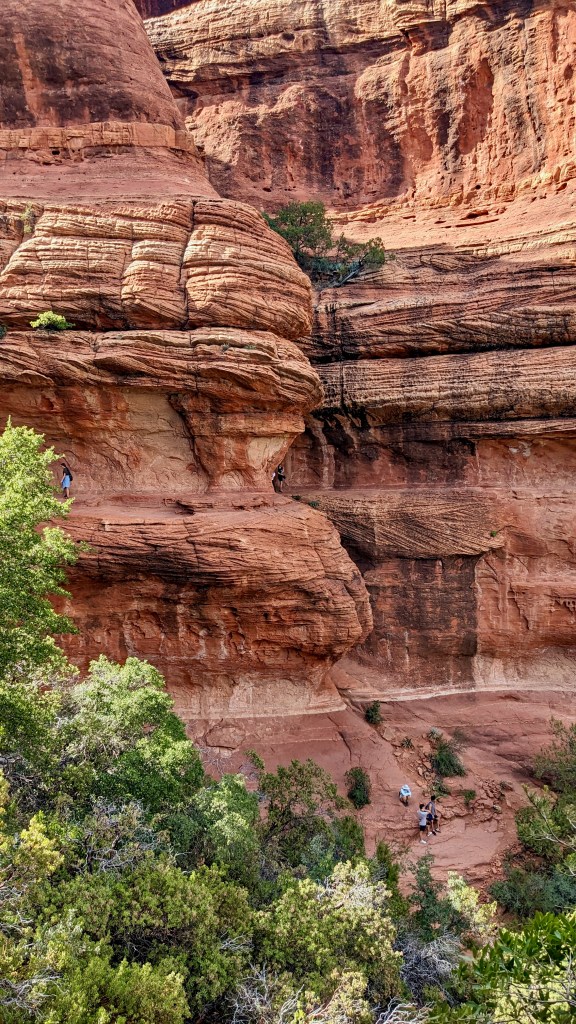
Once you reach this Y junction, which does have a single sign that says ‘Trail’, the route to Soldier Pass Cave is to the right. (After visiting the cave, you will want to return to this spot and then take the trail to the left in this photo in order to complete the loop.) The cave is another 0.6 mile past this junction and entails a steep, rocky ascent at the very end.
You enter the cave from below and then will have to go up a steep ascent to the right that will require the use of both your hands and feet to get up to the places pictured above.
After visiting the cave, continue on the loop to visit the mesa and enjoy the views. There is a bit of climbing to do before reaching the mesa, which will be quite flat for some time, followed by a quick, steep descent to the car.
The Birthing Cave
- Distance: 2 miles round-trip
- Elevation gain: 250 feet
- Difficulty: moderate
- Trailhead: Long Canyon Trailhead
- Cost: A Red Rocks Pass or America the Beautiful Pass is not needed
- Note: this is not an official trail and therefore will not have a sign to mark the turn-off. Read below to learn more.
The Birthing Cave is the final “secret” cave on this list. Again, there is no official trail to this cave, and you will not see it on the map provided at Long Canyon Trailhead. Be sure to research its location ahead of time and bring a map and/or GPS.
The Long Canyon Trailhead can also be quite busy, so I recommend getting there early or parking at the nearby Mescal Trailhead, which will add distance to your hike. Once at the Long Canyon Trailhead, follow the Long Canyon Trail for about 0.6 miles. You will come to a fence with a ‘Trail’ sign and a small path that goes to the right of the fence. You want to take the wider path that goes to the left here.
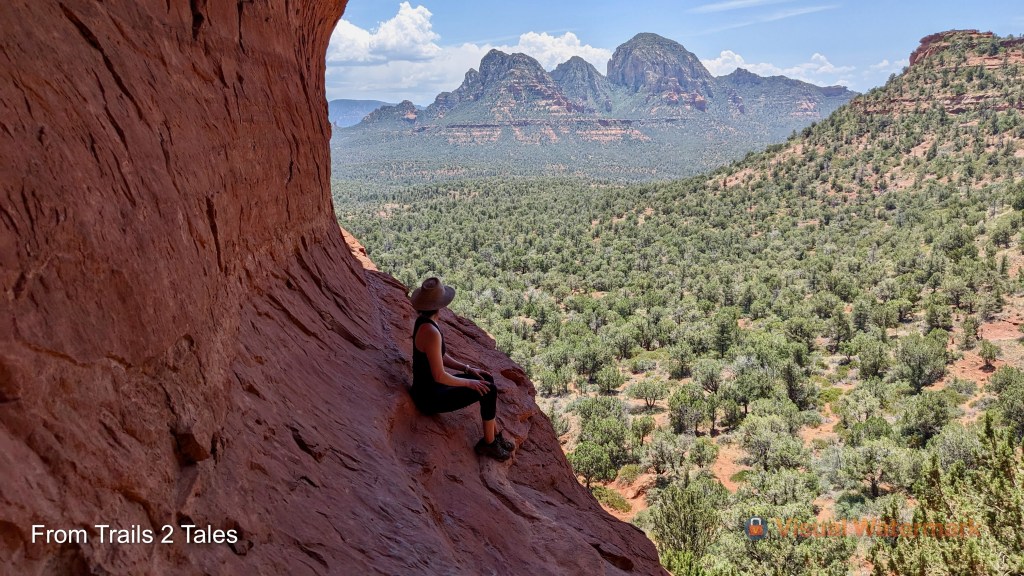
There is a short steep ascent at the end of this trail to get into the cave, but it does not require the use of your hands. Once inside the cave, enjoy the shaded, cooler areas and use your hands and feet to climb higher up on the walls if desired. The view from inside the cave looking out is stunning!
Devil’s Bridge
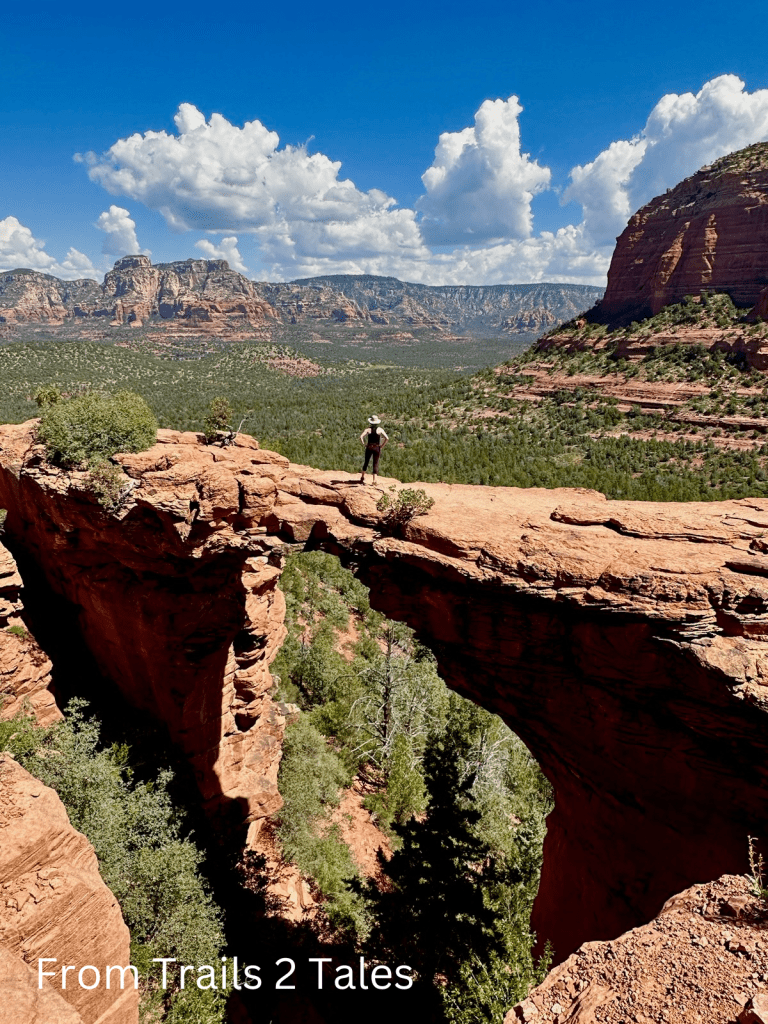
- Distance: 2 miles round-trip from the 4WD Devil’s Bridge Trailhead, 4.2 miles round-trip from the Mescal Trailhead, 4.6 miles from Dry Creek Road Parking Lot (most of this hike will be along a wide, dusty road)
- Elevation gain: 400-500 feet
- Difficulty: moderate
- Trailhead: Devil’s Bridge Trailhead or Mescal Trailhead
Devil’s Bridge is by far one of the most popular hikes of the five listed here. Arriving early in the day or later in the afternoon is best to secure a parking spot. Like most of the other hikes, the trail is relatively easy and flat until the very end, where there is a steep rocky ascent to reach the bridge. There will also be a line of people waiting for photos here, so be sure to allow extra time for this. The bridge itself is wider than it looks in pictures.
Cathedral Rock
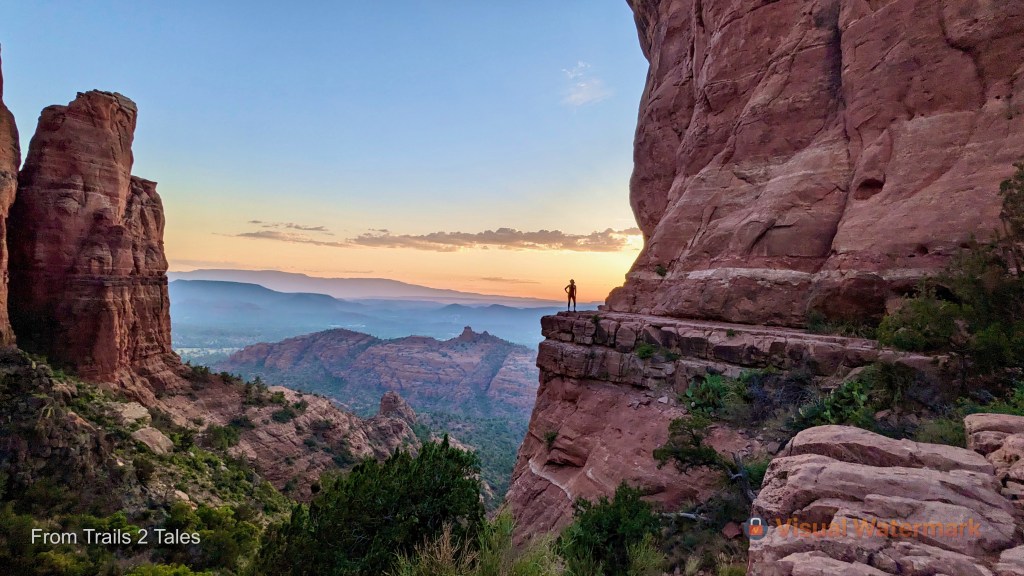
- Distance: 1.2 miles round-trip
- Elevation gain: 700 feet
- Difficulty: moderate
- Trailhead: Cathedral Rock Trailhead
- Cost: You will need to purchase a Red Rocks Pass or America the Beautiful Pass to display in your car.
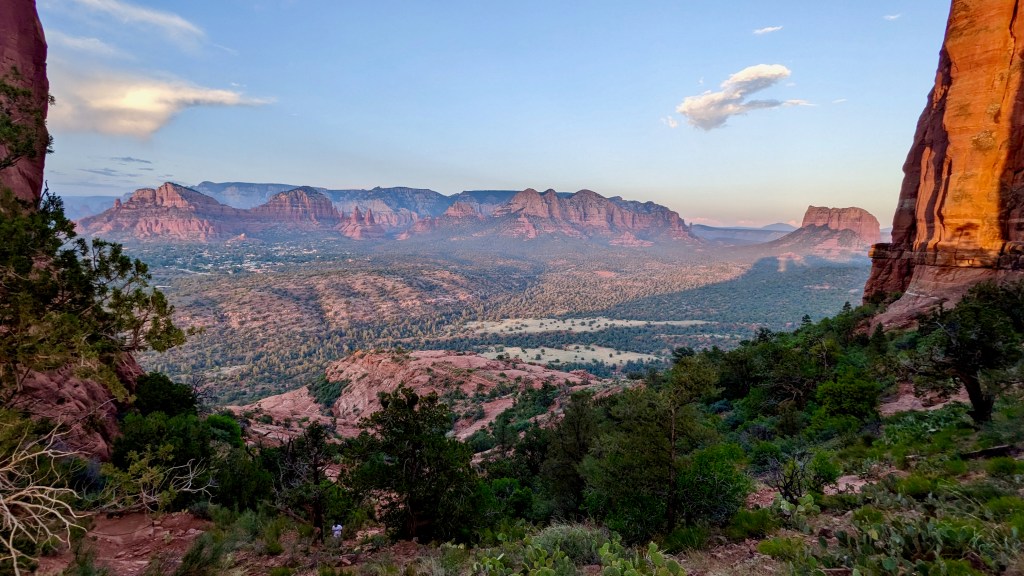
Cathedral Rock is a short but challenging hike with stunning views all-around. I hiked this in the evening during sunset, and believe me when I say this place was magical! The trailhead can be very busy (surprise, surprise!) so allow time to park or walk in from a different trailhead. I ended up parking at the Little Horse Trailhead a mile to the east and walked the Back O Beyond Road to reach the Cathedral Rock Trailhead. If doing this hike at sunset, bring a headlamp or flashlight to alert your presence to cars as there is no shoulder on this road.
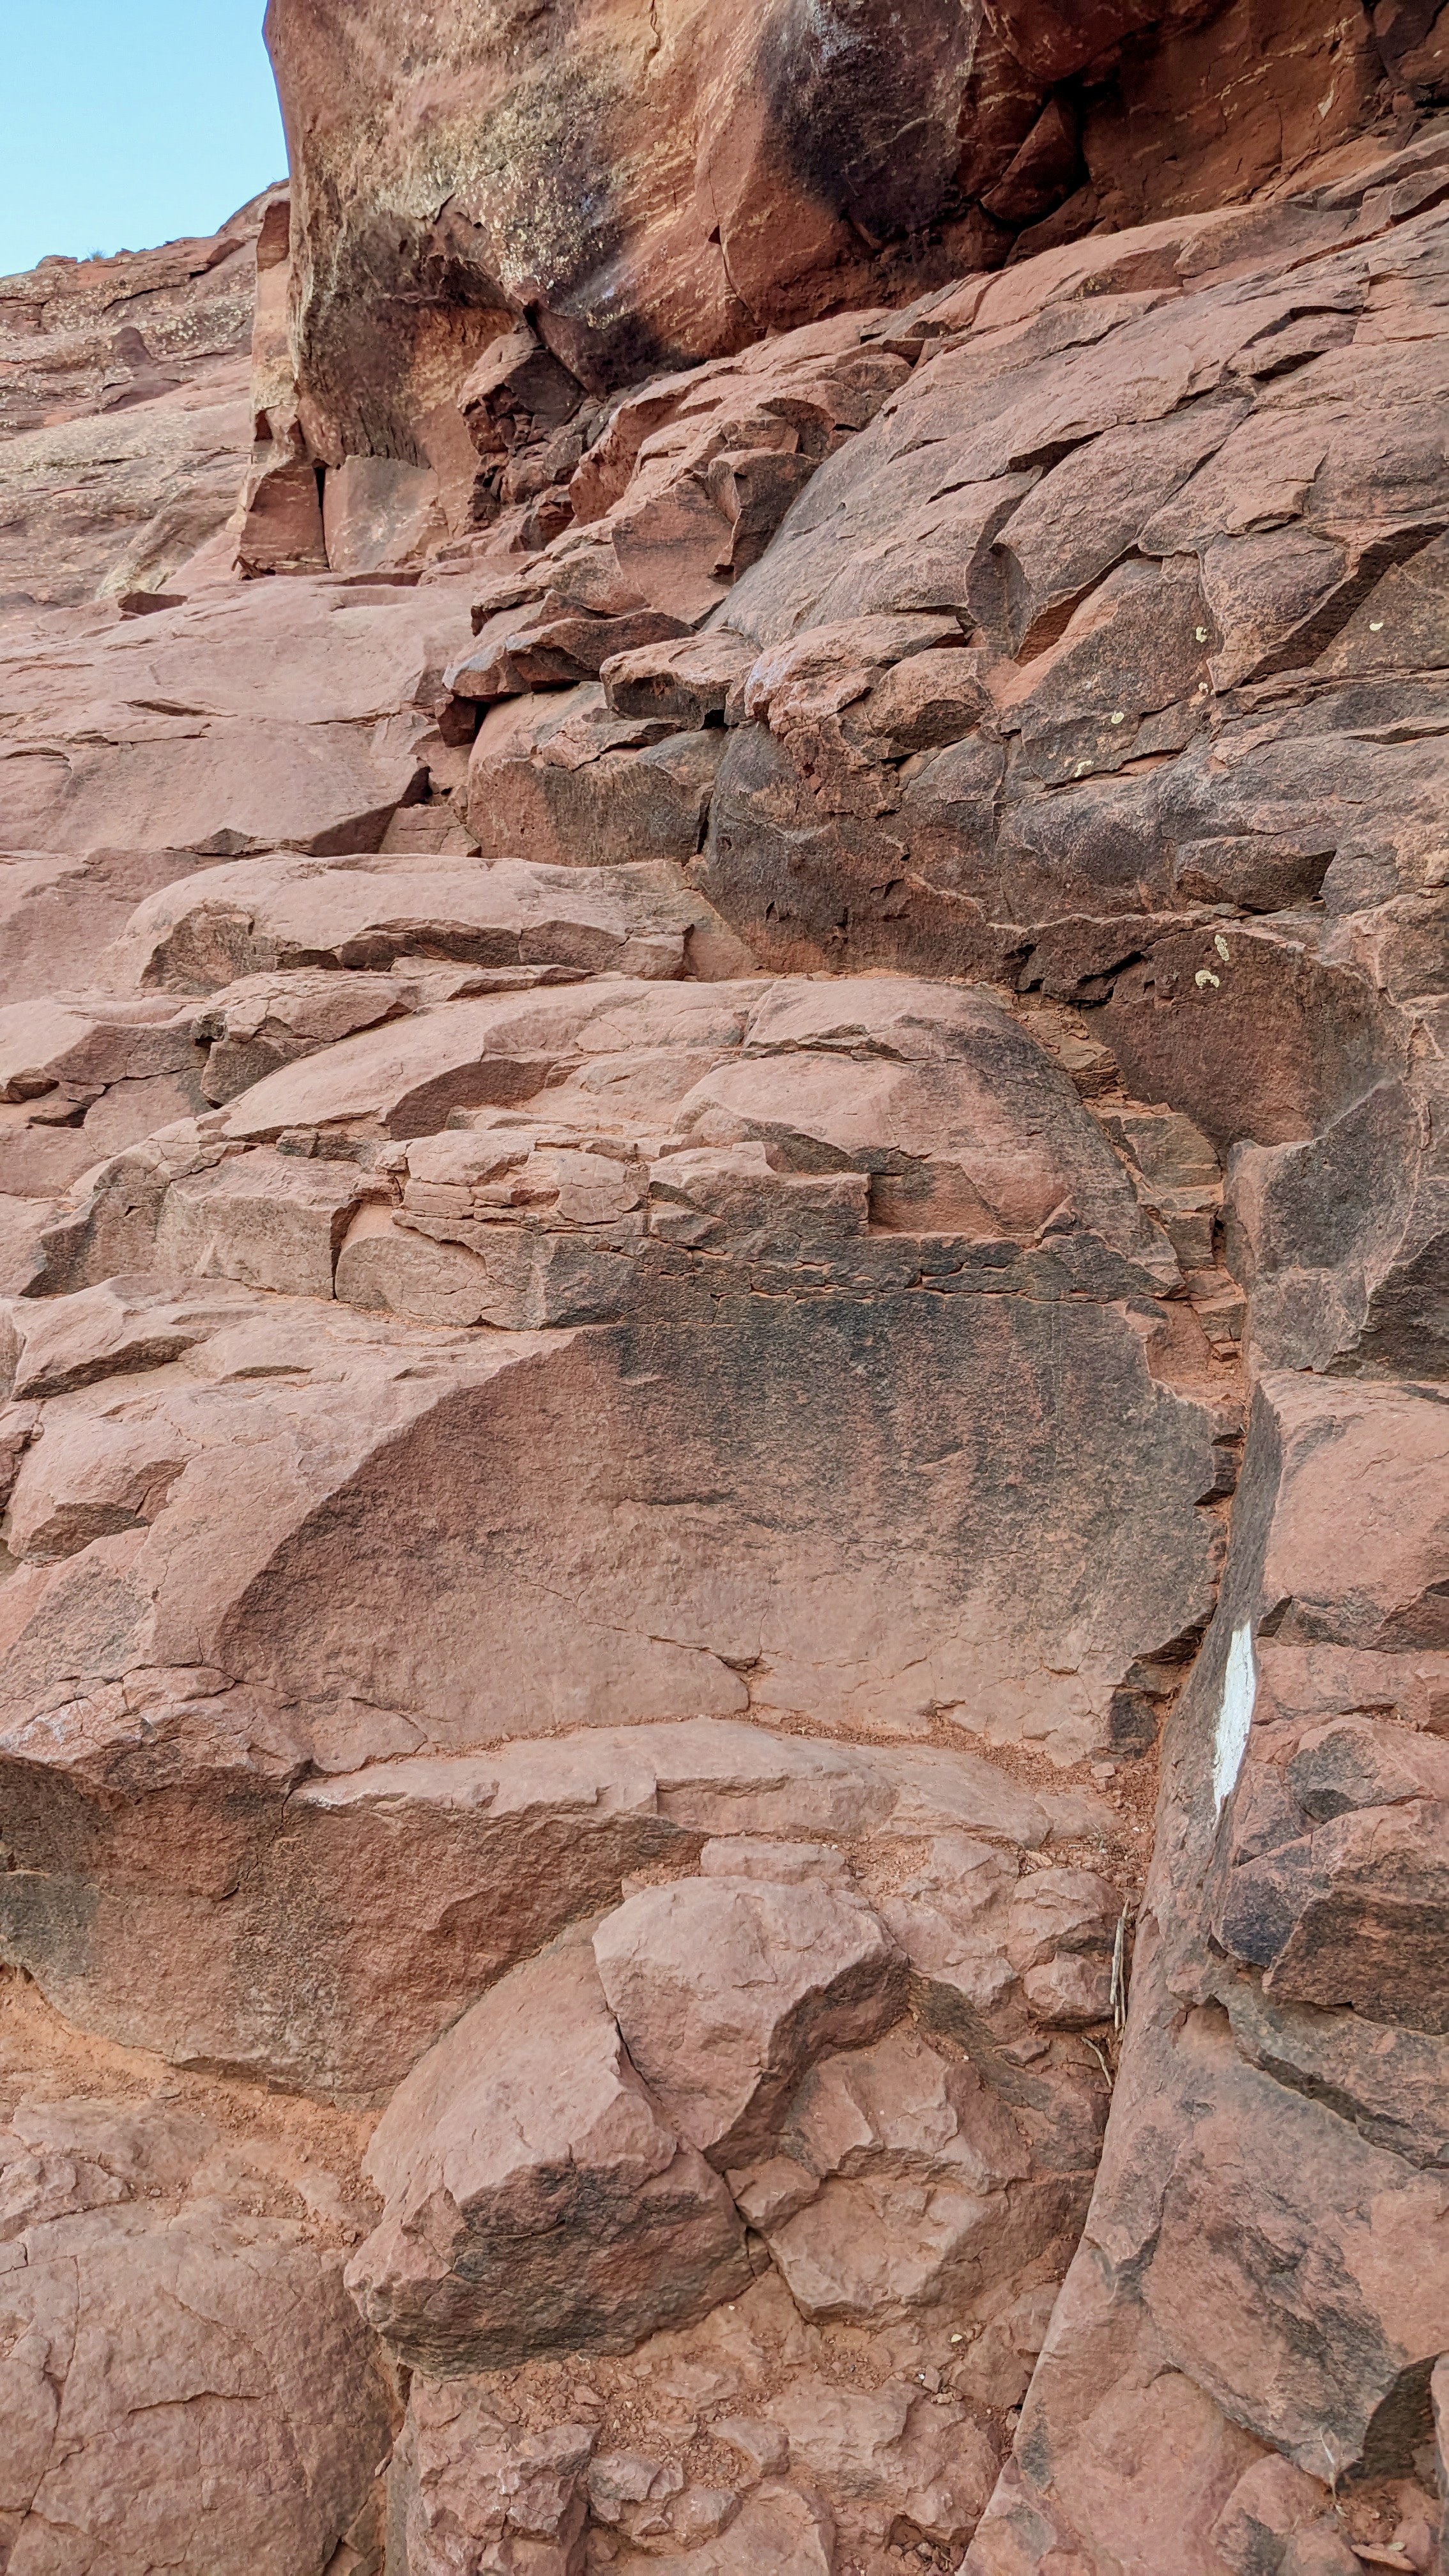
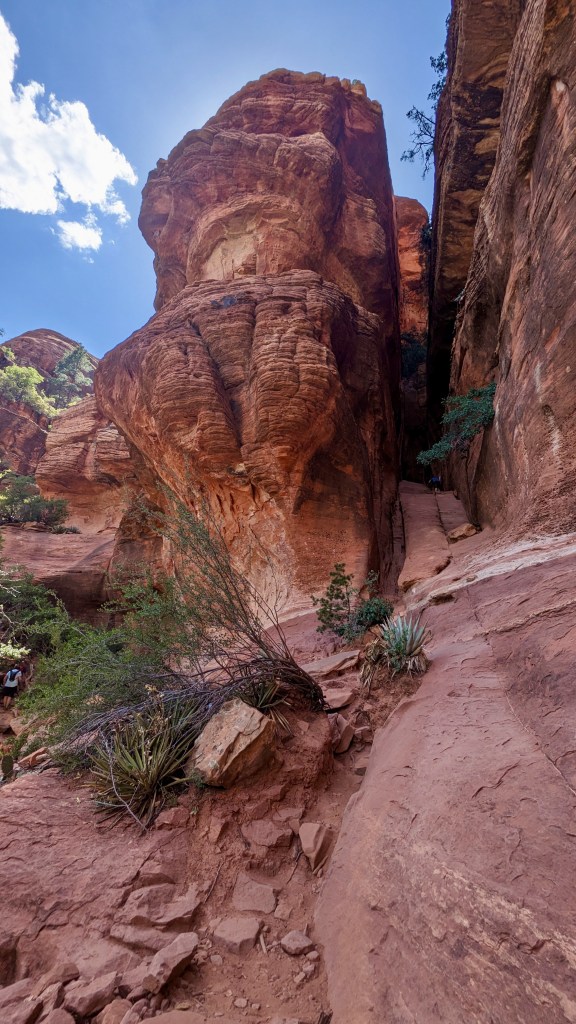
The challenging aspect of this hike is that it is steep and the climb begins very early on. In addition, I would rate this as Class 3 climbing, requiring your feet and hands to navigate through some difficult sections as photographed to the left here. If hiking at sunset, I recommend leaving some time to descend before the light is completely gone, and bringing a headlamp to help navigate.
Once you reach the sign that says ‘Trail End’, be sure to explore a little further to the right and left for some great photo opportunities.

Leave a comment